

So, how do you sort leaves and keep them in place? The ubiquitous foam plate with double stick tape on it! I had certain ones that needed to stay sorted from the rest that I had on the table, there was a fair amount of fitting to see what worked and I carefully stuck them to the underside of the plate, which proved to be a great way to manage them! (because even if it got knocked off the table....not that THAT would happen in this clean studio.....haha.....)

I had found an old engraving in one of my numerous files of all things New Orleans, and printed it out in sepia onto tracing paper. Actually, I printed a couple until I had one that fit precisely and allowed some of the unique characteristics of the gesso to show through. I did not change the size of the printed pieces much, but there was a world of difference when placed atop the circle.
Originally, I had planned for an image that was perfectly centered, but St. Louis Cathedral was off center in this piece, and it meant I was going to have to consider some shifts from my original vision.
I did color the piece with prisma color pencils and part was on the back, and highlights on the front.
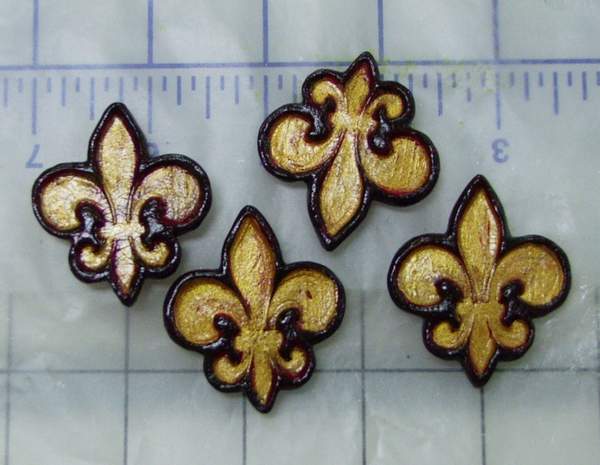
This is a close up of the paperclay Fleurs after the paint, gilding and crackle coat had dried. Still, it was brighter than I felt they should be, sooooo.......

I coated them with a very thin layer of the soft black paint and immediately rubbed it off. Now they appeared aged, as the rest of the piece would be as it moved forward. I apologize for the quality of this photo; for whatever reason the auto-focus did not like the crackle finish.....go figure......

And here I have laid out the paperclay elements (to get an idea of how much more color the background would require) and I have also torn the edges of the tracing paper print, laid it where I wanted it and it is ready to be applied with heavy gel medium. Using the heavy with tracing paper allows for less wrinkling of the paper due to the smaller amount of liquid in the medium itself. Using a soft gel would have produced many wrinkles.

The background color has been intensified, as with the color in the circle. The image is now adhered, has a few paint highlights here and there, and I mixed some budgie grit with heavy medium for the texture in the corners, which also holds the paperclay pieces firmly in place. Normally I would use Golden's Pumice medium for this, but what I had left had dried, and being the impatient sort, I figured budgie grit would work as well.....and it DID. (and it saves me from having to purchase another product!)

This gives a better idea of the rough texture in the corners, and you can also see the depth of subtle colorwashes on the background. I assure you, there are many layers on there. I like bringing the color up slowly until it is *just right*.
Also, it is easy to see how the torn edges of the paper blend gently into the blue background.The next installment will show the medium in the corners dried and painted.....
It's just like a soap opera...you don't get it all at once! I have to drag it out some! (so I can get the work done and the photos taken! LOL!!!)
And though this is at the bottom of the post, there are new WELCOMES on the followers list and I am delighted to have you here! Good golly, I am getting sooo close to 100 people....
I never would have dreamed.
Thanks to you all for reading and keeping me writing.
I bid you.....
Pax.


