(the following work is a copyright of Anne M. Huskey-Lockard, 2009)
Well, here we have the essentials for the next step, and
one essential for
ANY step in my art, my favorite coffee mug filled with good strong java! ;-)
Your panel is completely dry, and now we get to gesso. There is only one brand I use---ONE. It is the artists grade from Demco, manufactured in Canada and sold locally at Hobby Lobby. Not a particular plug for them, but if you can't find it, you can order it from their website. Make sure it's the artist grade, as there is a big difference.
Have handy an old rag (don't try paper toweling--won't work and it's a waste of money--rags wash), the coarse brush you put the gel on with and just use the gesso off the foil liner. You don't need a lot.
I use a small amount; this is almost a dry brush technique, because you want it to sit on top of the texture from the gel medium, lightening and blending the background papers. Don't put it all over--unless you want to. I prefer a light touch at first and then add as needed.
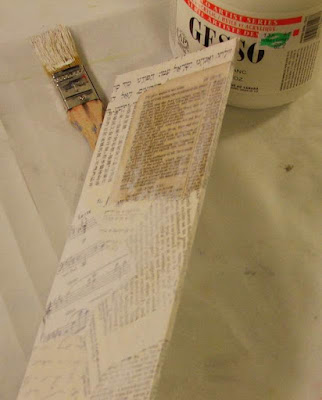
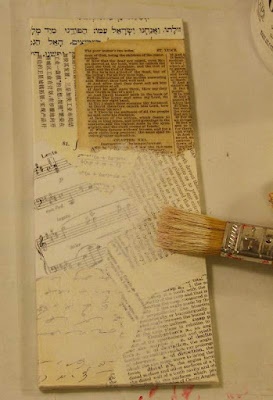
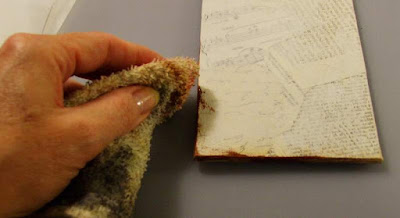
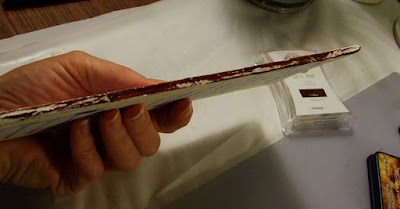
Sorry for the lousy quality of a couple of the photos but I have a hard time holding everything! The side view shows a bit better that all is not covered, in fact, in the process I occasionally will wipe some off with a slightly damp rag, or rub some in to make it fall into the gel grooves.
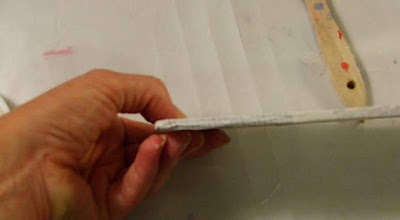
The sides, all around, are covered with gesso. If you think you have a bit too much on, just wipe it down with the rag. No big deal.
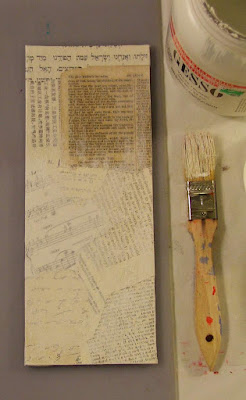
And here is what it looks like when I decided there was enough white to suit me. You can see I left some areas pretty much untouched as they are integral to my final product......at least at this point. That can always change---that's what's so great!
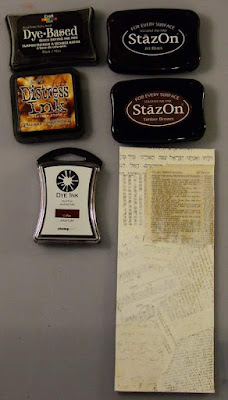
Now to inks. Above are DYE inks and STAZ-ON inks. Dye inks are great in that they dry quick, can be softened with a damp cloth, can be stamped and will be dry soon, but they do require a sealer before putting any other wet media on top of them or they will run.
STAZ-ON, as the name indicates, STAYS ON!!!! On your clothes, on your hands, on you worktable, on everything--which makes it good for final coats, heavy ink applications, and when you
know for sure you want something somewhere. I have two colors simply because they are double the price of the dye inks. But they are an excellent product....just take time to learn to use them.
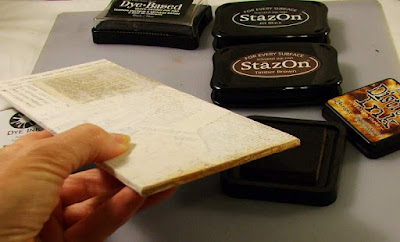
I start tinting the panel on the sides with the dye ink, using the pad to rub it on, then softening the finish with a rag. This isn't quick work---you need to enjoy detail work. A LOT.
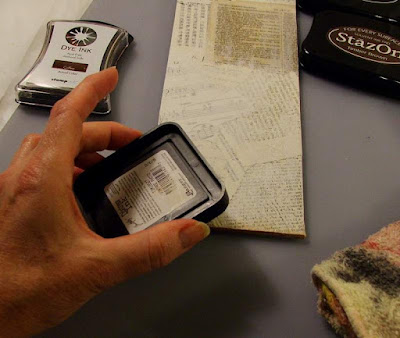
I take the pad and lightly touch it to the top surface of the panel, getting only a small amount of ink on the gel. Practice will let you know the right *feel* of this.
Then I still, usually, will rag the ink, to soften and distribute it around. I only work the outer edges first, to build a visual *frame* of color.
The very outer edge is inked heavily, and not rubbed in. I want the crevices from the paper and gesso to show through as there will be other applications after this. It's a matter of having to learn to leave it alone. (hard lesson for me!) Just ink it and walk away. Go finish your coffee, play on Facebook, go to town. Let it dry.
Tomorrow we will finish the top of the panel, and I probably will leave you at that point to pursue either doing one, or you're going to have to wait quite a while for a finished piece of art from me due to my sewing requirements at present.
This is all very achievable work---anyone can do this. If you can't find the paper selection you would like, visit
Manto Fev for one of their foreign paper samplers. It's how I've built my stash and it is most affordable.
Above all else, have fun with this! If you decide to make a piece, let me know. Maybe we can post the finished art here at some point!
Yes, I have thrown down the creative gauntlet!!!
Have a great and productive day!
Pax.

 I have to admit that anything that starts from a sketch so simple should not end up using such a large portion of your life to produce. However, in my area, the problem has been finding supplies, as I have stated before, and after numerous (way too numerous) hours on the internet searching for background fabrics, and candle fabrics, everything is beginning to be a bit closer to coming together. And boy am I relieved!
 While this does not show the wonderful shimmering quality of the flame fabric, trust me when I say it will be seen from afar! Trying to photograph the holographic pieces are hit and miss. I also plan to put a bit of angelina in the very center of the flames when everything is attached, as I will have to use fabric glue and don't want to reheat the fiber again. It's right where I want it color wise and one more hit with the iron and who knows???
 And this is what appears to be a small amount of work, the candles cut, the *glow* of the flame and flame proper fused together......how deceiving. This was an amazing amount of time! Since it's almost all silk, it has to be handled with extreme care and everything has to be perfectly on-grain.
 And the little *wax drips*? They can't be just fused, but zigzagged around all the way to make sure they stay on. After three backing support products, I finally discovered that tissue paper works the best.......grrrrrrrrr.......let's see, eight small candles, two large candles, and I am pretty sure that equals Anne losing her mind!